Single-Sign-On
Single Sign-On is only available on Hatchet Custom plans. See pricing for more details.
In addition to Google and Github OAuth, we also provide a custom SSO solution for enterprises that wish to use their own Identity Provider (IdP).
Supported IdPs
- Okta
- Microsoft Entra
- OneLogin
- JumpCloud
- generic OIDC providers
Setting up SSO
IdP Configuration
The first step is setting up the SSO configuration. This can be done by clicking on "Set up SSO" in Settings > Organization > SSO and filling out the fields provided. The fields vary by platform, but for all platforms you must copy the "Redirect / Callback" URL and set it as the callback URL in your IdP.
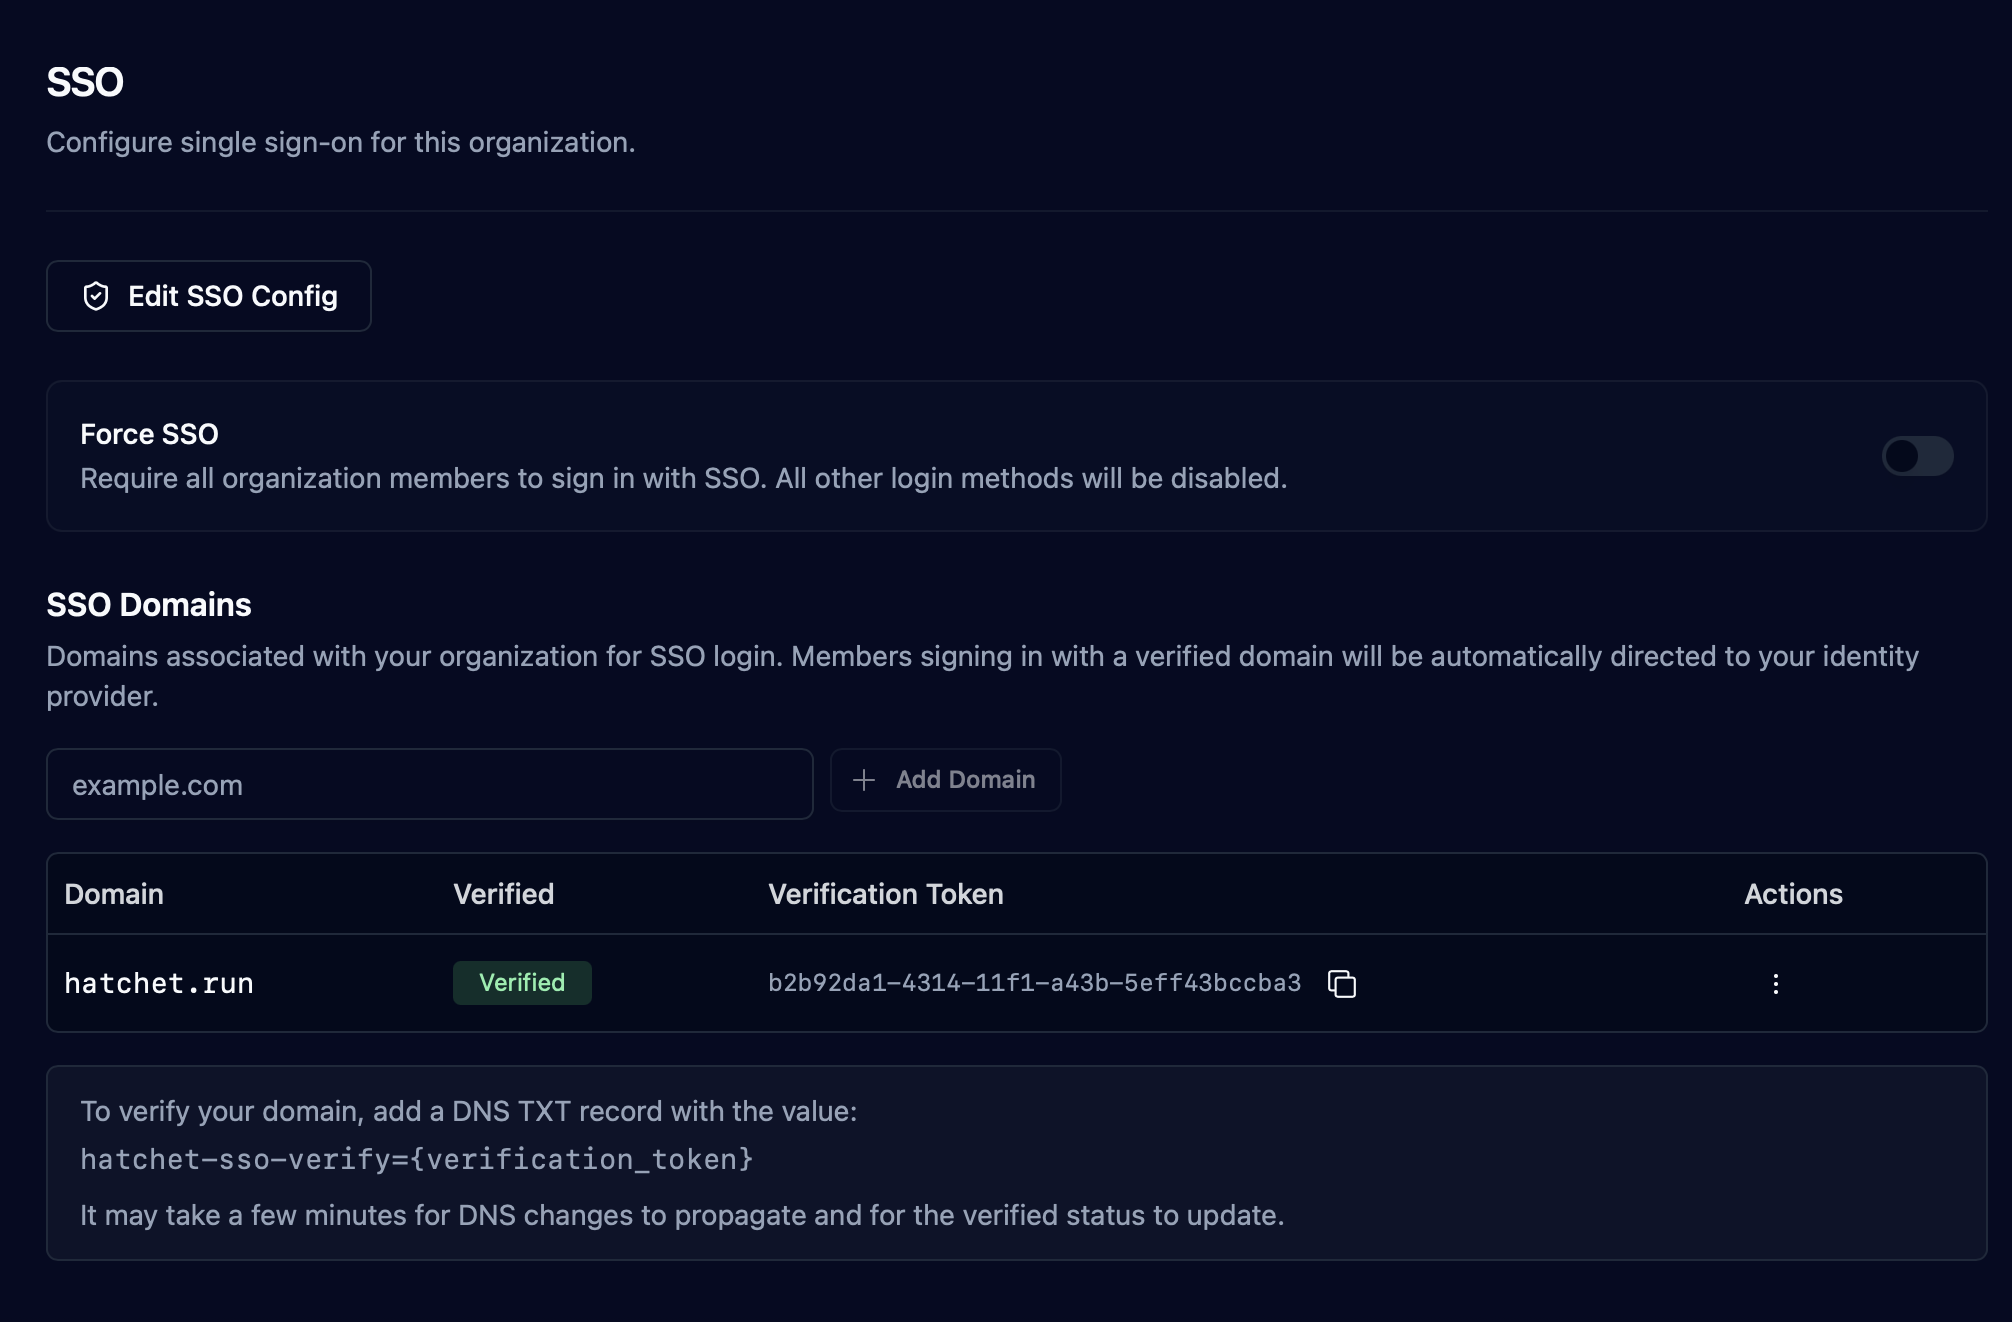
Domain Verification
To allow a user to sign in with SSO, you must also link your organization's email domain to your SSO configuration.
This is done using DNS verification--you must add the hatchet-sso-verify to your domain's DNS TXT records with a verification
token to link the domain. Once the domain is verified, all users who sign in with SSO using that email domain will use your SSO
configuration to authenticate. There may be a short delay between updating the TXT record and verification, as the records
need to propagate. Here is an example verification record:
| Type | Domain Name | Record |
|---|---|---|
| TXT | hatchet.run | "hatchet-sso-verify=b2b92da1-4314-11f1-a43b-5eff43bccba3" |
Forcing SSO
By enabling the Force SSO toggle, all users will be forced to sign in with SSO, disabling all other login methods.
Only enable forced SSO after you have confirmed that SSO is working correctly, otherwise you may be locked out of your organization. Contact support if you end up in this state.
Last updated on October 17, 2026